> ## Documentation Index
> Fetch the complete documentation index at: https://docs.agentcloud.dev/llms.txt
> Use this file to discover all available pages before exploring further.
# Tutorial to Build a RAG with Google Bigquery
> Step by step guide to setup a conversational chat app to RAG a Google Big Query datasource (or any other data source)
## 1. Setup Models and Credentials
Go to the `/models` screen and add two models:
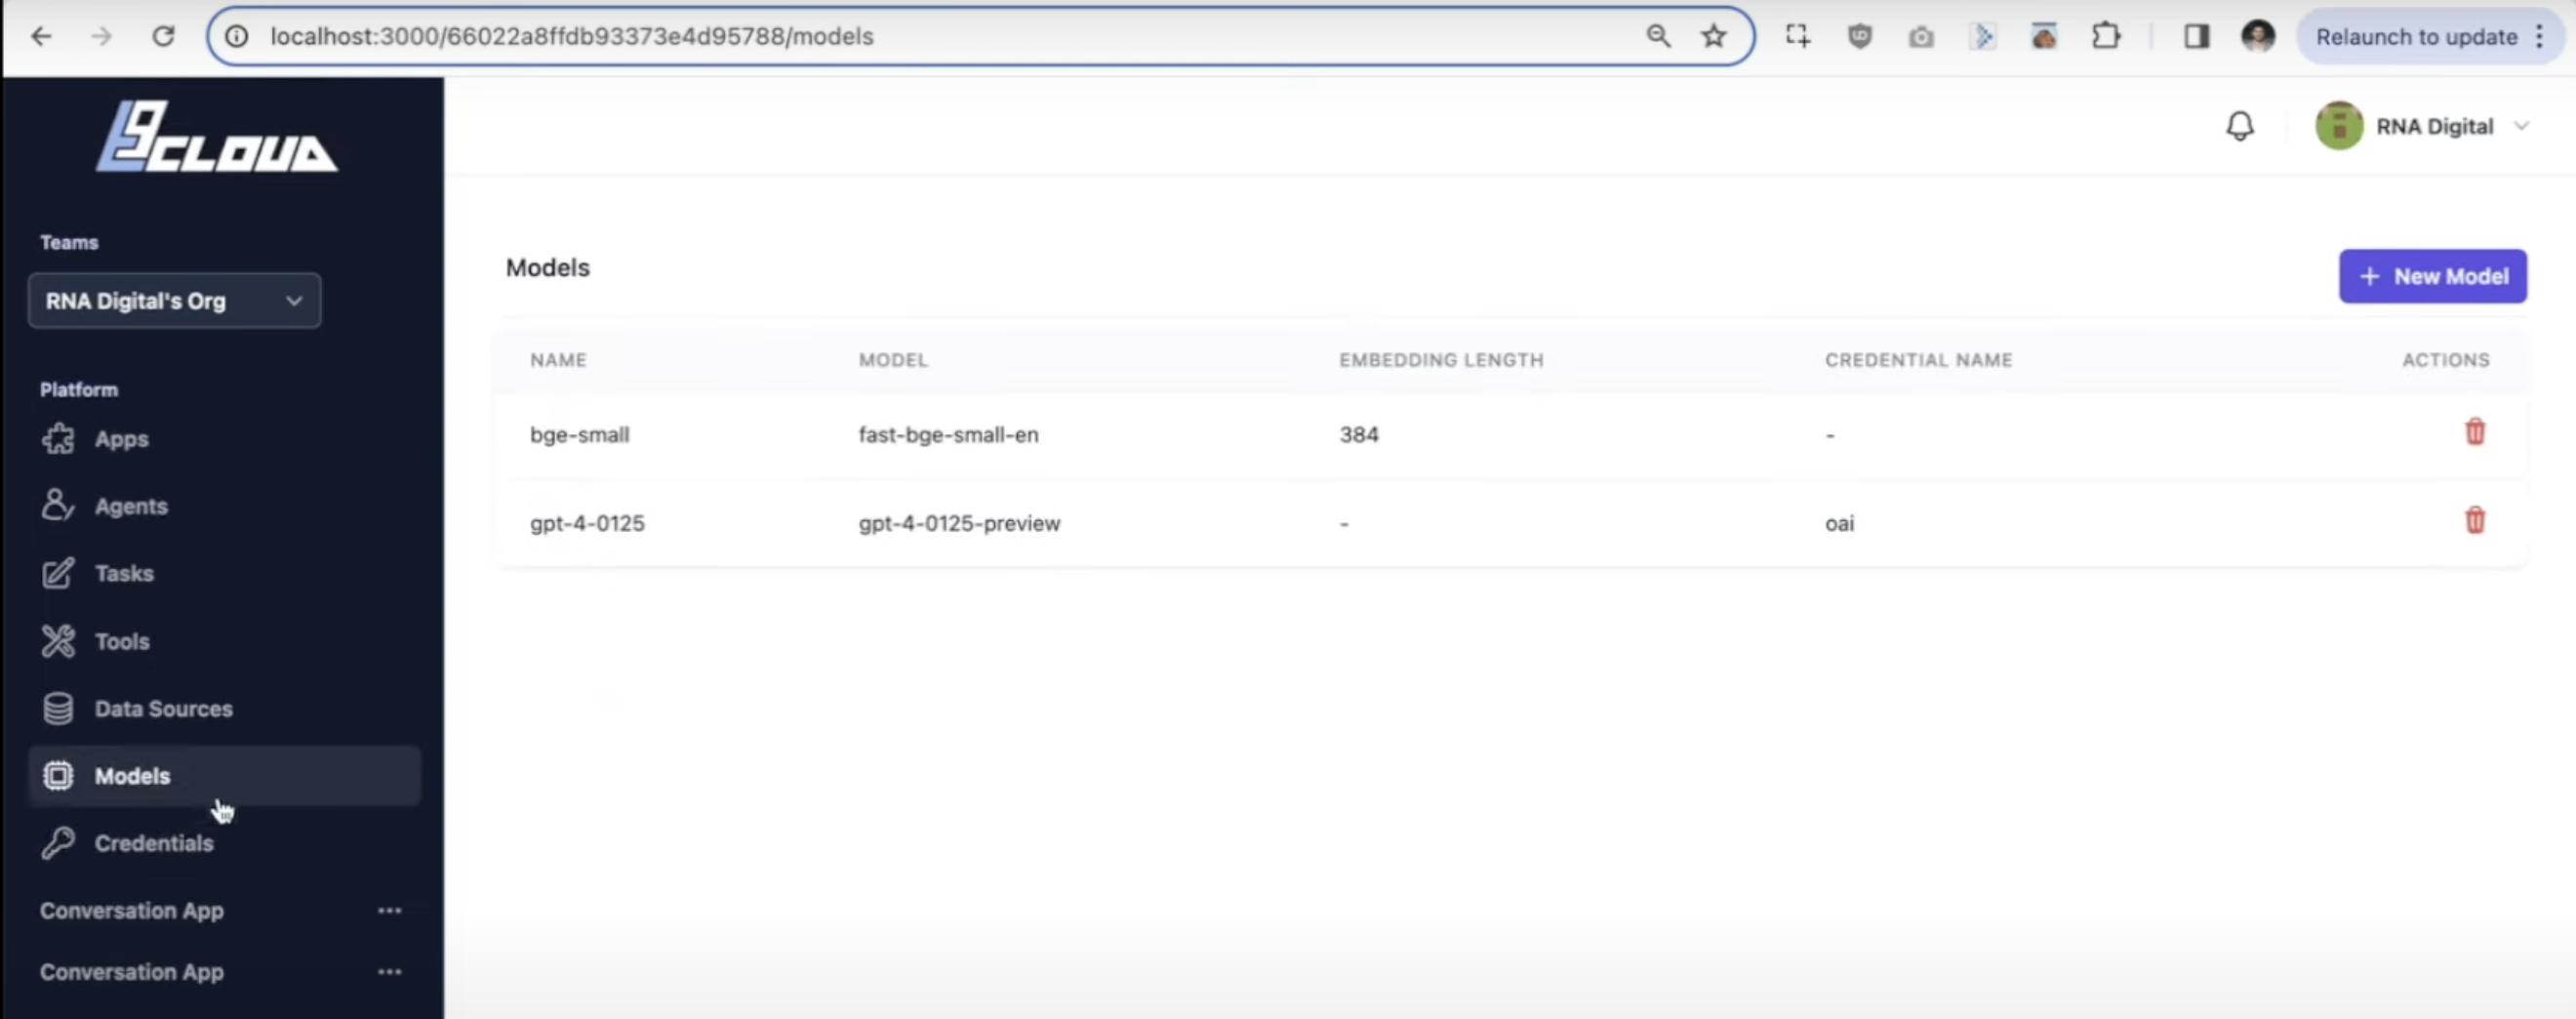
Add new model of type fastembed add select the `text-embedding-3-small`
Add a new model of type Open AI and select `gpt-4o-mini`
For best performance first time we reccommend using Open AI. If using Open AI sign up to [https://platform.openai.com/api-keys](https://platform.openai.com/api-keys) and generate an API Key. Copy and paste this into the Credenital screen within agentcloud. You can also connect to a local model via LM Studio or Ollama - if there any issues please raise on #help on Discord.
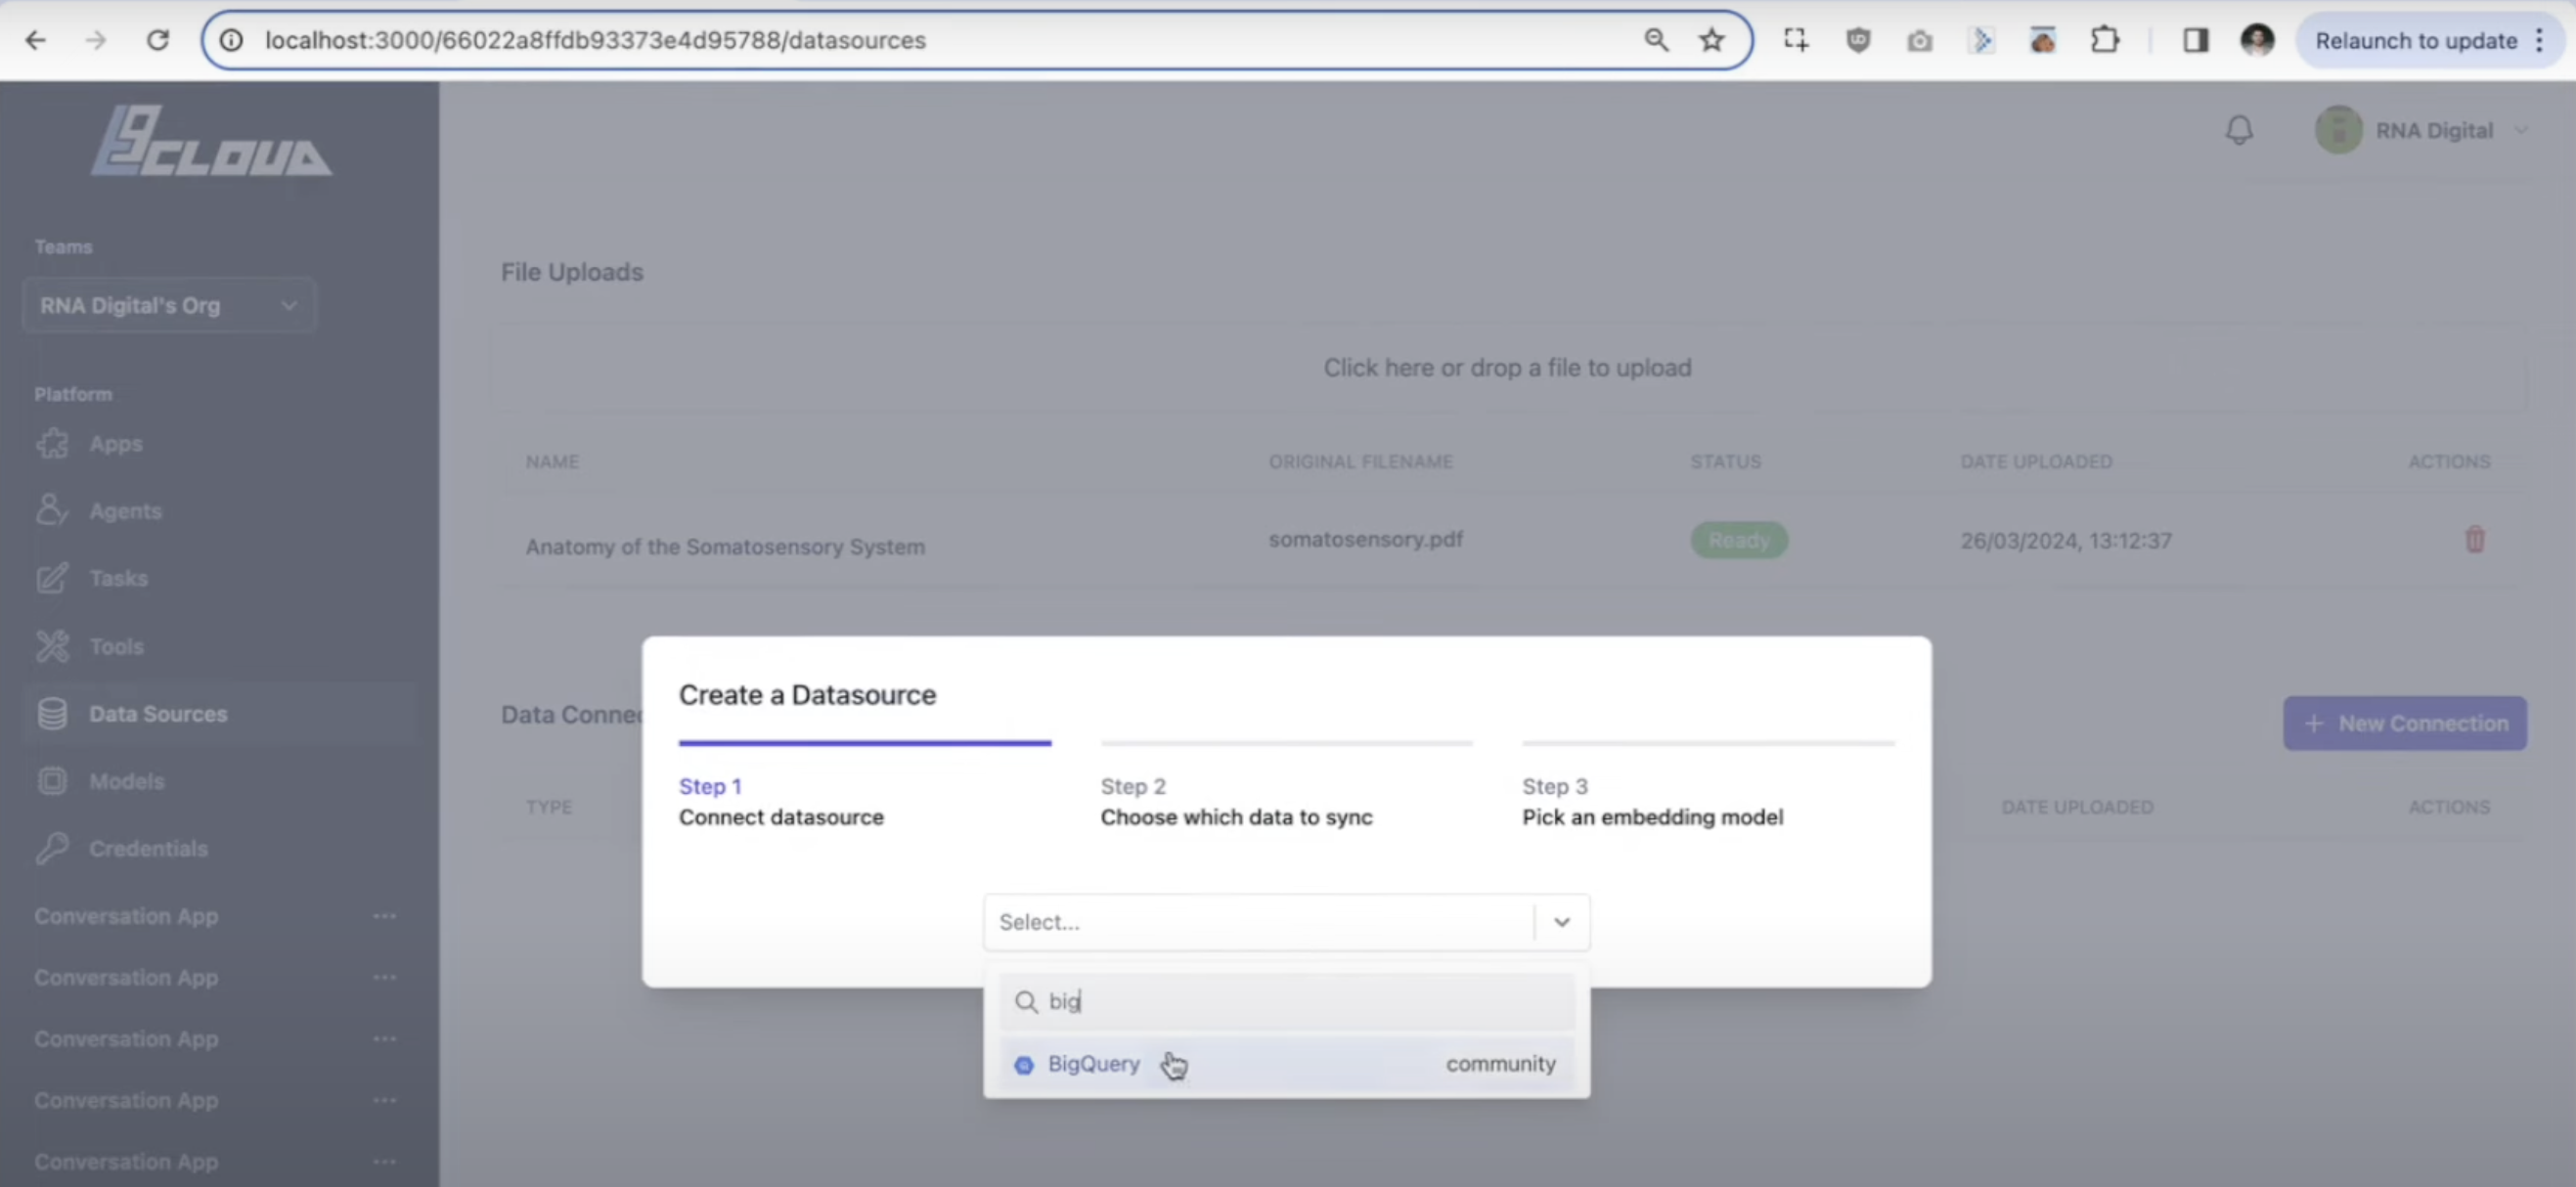
## 2. Setup Datasource
If running locally via Docker, during this process we reccommend running `docker compose logs -f` in your terminal to follow along and catch any errors if they occur.
For Advanced debugging you can also open up apps like Qdrant or Airbyte to see progress as data passes through each system.
Click Advanced Debugging for instructions on how to access these UIs.
If you want to debug the applications running under the hood, you can access them via the following addresses:
| App | Location | Authentication |
| --------- | -------------------------------------------------------------------------------------------- | ------------------------------------ |
| Airbyte | [http://localhost:8000](http://localhost:8000) | username: airbyte password: password |
| Qdrant | [http://localhost:6333/dashboard#/collections](http://localhost:6333/dashboard#/collections) | N/A |
| Rabbit MQ | [http://localhost:15672/](http://localhost:15672/) | username: guest password: guest |
You can get this dataset from [Github here](https://raw.githubusercontent.com/MartaCasdelg/Python-Projects/main/Twitter%20-Sentiment%20and%20text%20analysis%20of%20Elon%20Musk%20tweets/cleandata.csv). If you want to use Bigquery, you can upload the csv to Bigquery via their GUI.
Go to the `/datasources` screen, select New Connection and add a Bigquery data source:
Provide a name and sync schedule for the data source. Select `Manual` for now.
For now, syncs configured via Agent Cloud, will sync all data from the source everytime. In airbyte terms this is called a `full refresh - overwrite`. We still need to enable other refresh options such as `Incremental - Append` or `Full Refresh - Append` in future versions, which will only sync new data via a provided cursor field (such as create date field). You can [read more about it here](https://docs.airbyte.com/using-airbyte/core-concepts/sync-modes/)
If you have many datasets in bigquery, make sure to complete the dataset field, otherwise Airbyte will search all datasets and take too long.
Make sure to copy and paste your keyfile json into a code editor and turn it into a single line before pasting it in to agent cloud. Failing to do so may result in an error.
Provide the GCP project ID, a dataset name and copy and paste your `keyfile.json`.
Select the table and fields to sync to Agent Cloud
Selecting the top level checkbox will sync all fields.
Select the Field you would like to embed and the model you want to embed with. You can use the `text-embedding-3-small` which we setup in step 1 or add it here if you haven't done so already.
The sync will begin, you should see the process in your logs. You can open up Airbyte and Qdrant to see if the data has been synced and the collection has been created. (refer to Advanced Troubleshooting tab above)
## 3. Setup an Agent
Go to the `/agents` screen and create a new Agent
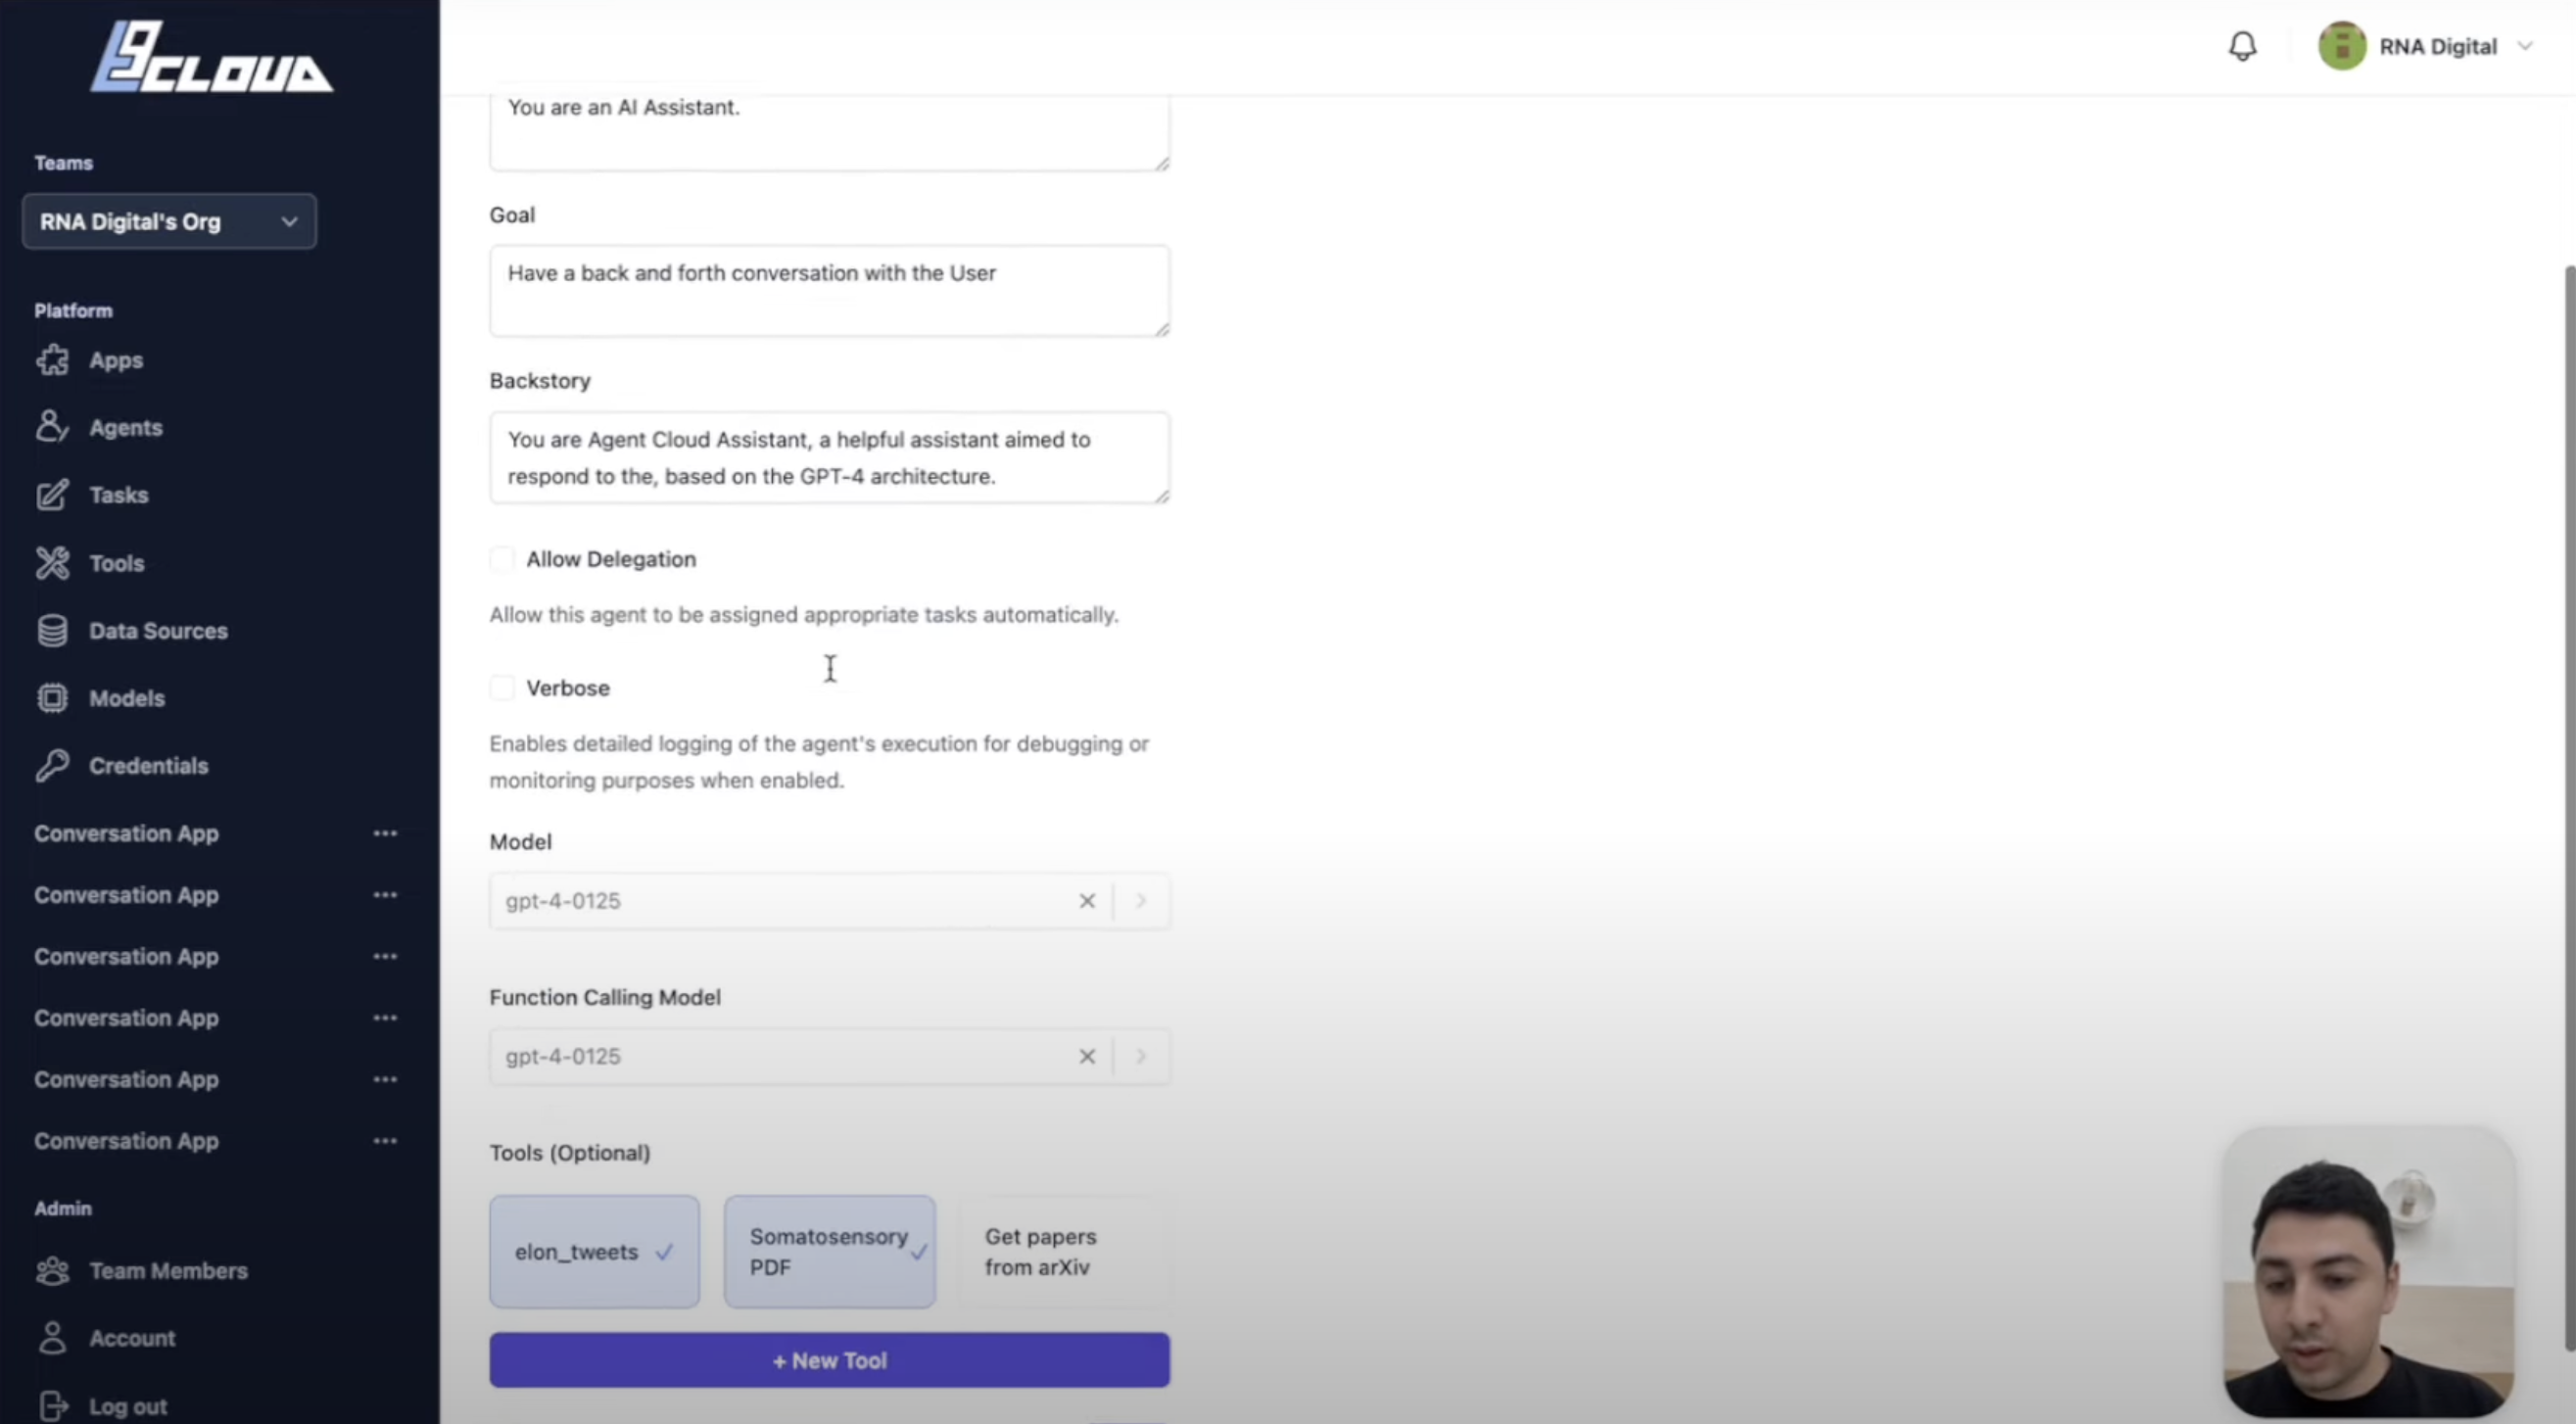
You can copy and paste the following prompts
```
You are an AI Assistant.
```
```
Have a back and forth conversation with the User.
```
```
You are Agent Cloud Assistant, a useful assistant designed to answer questions provided by the user.
```
Provide the LLM model that was created in step 1 `gpt-4o-mini` and optionally add it as the Function Calling model.
Select the RAG tool that you created earlier. You can provide multiple tools if you have multiple data sources.
## 4. Create a Chat App
Go to the `/apps` screen and create a new Chat App
Use the conversational App type.
By default this adds a human input tool to the agent which will enable the chat experience to require input on every question.
Select the Conversational Agent you just created.
Save the App and Run it. Ask a question based on the dataset.
## 5. Have a chat!
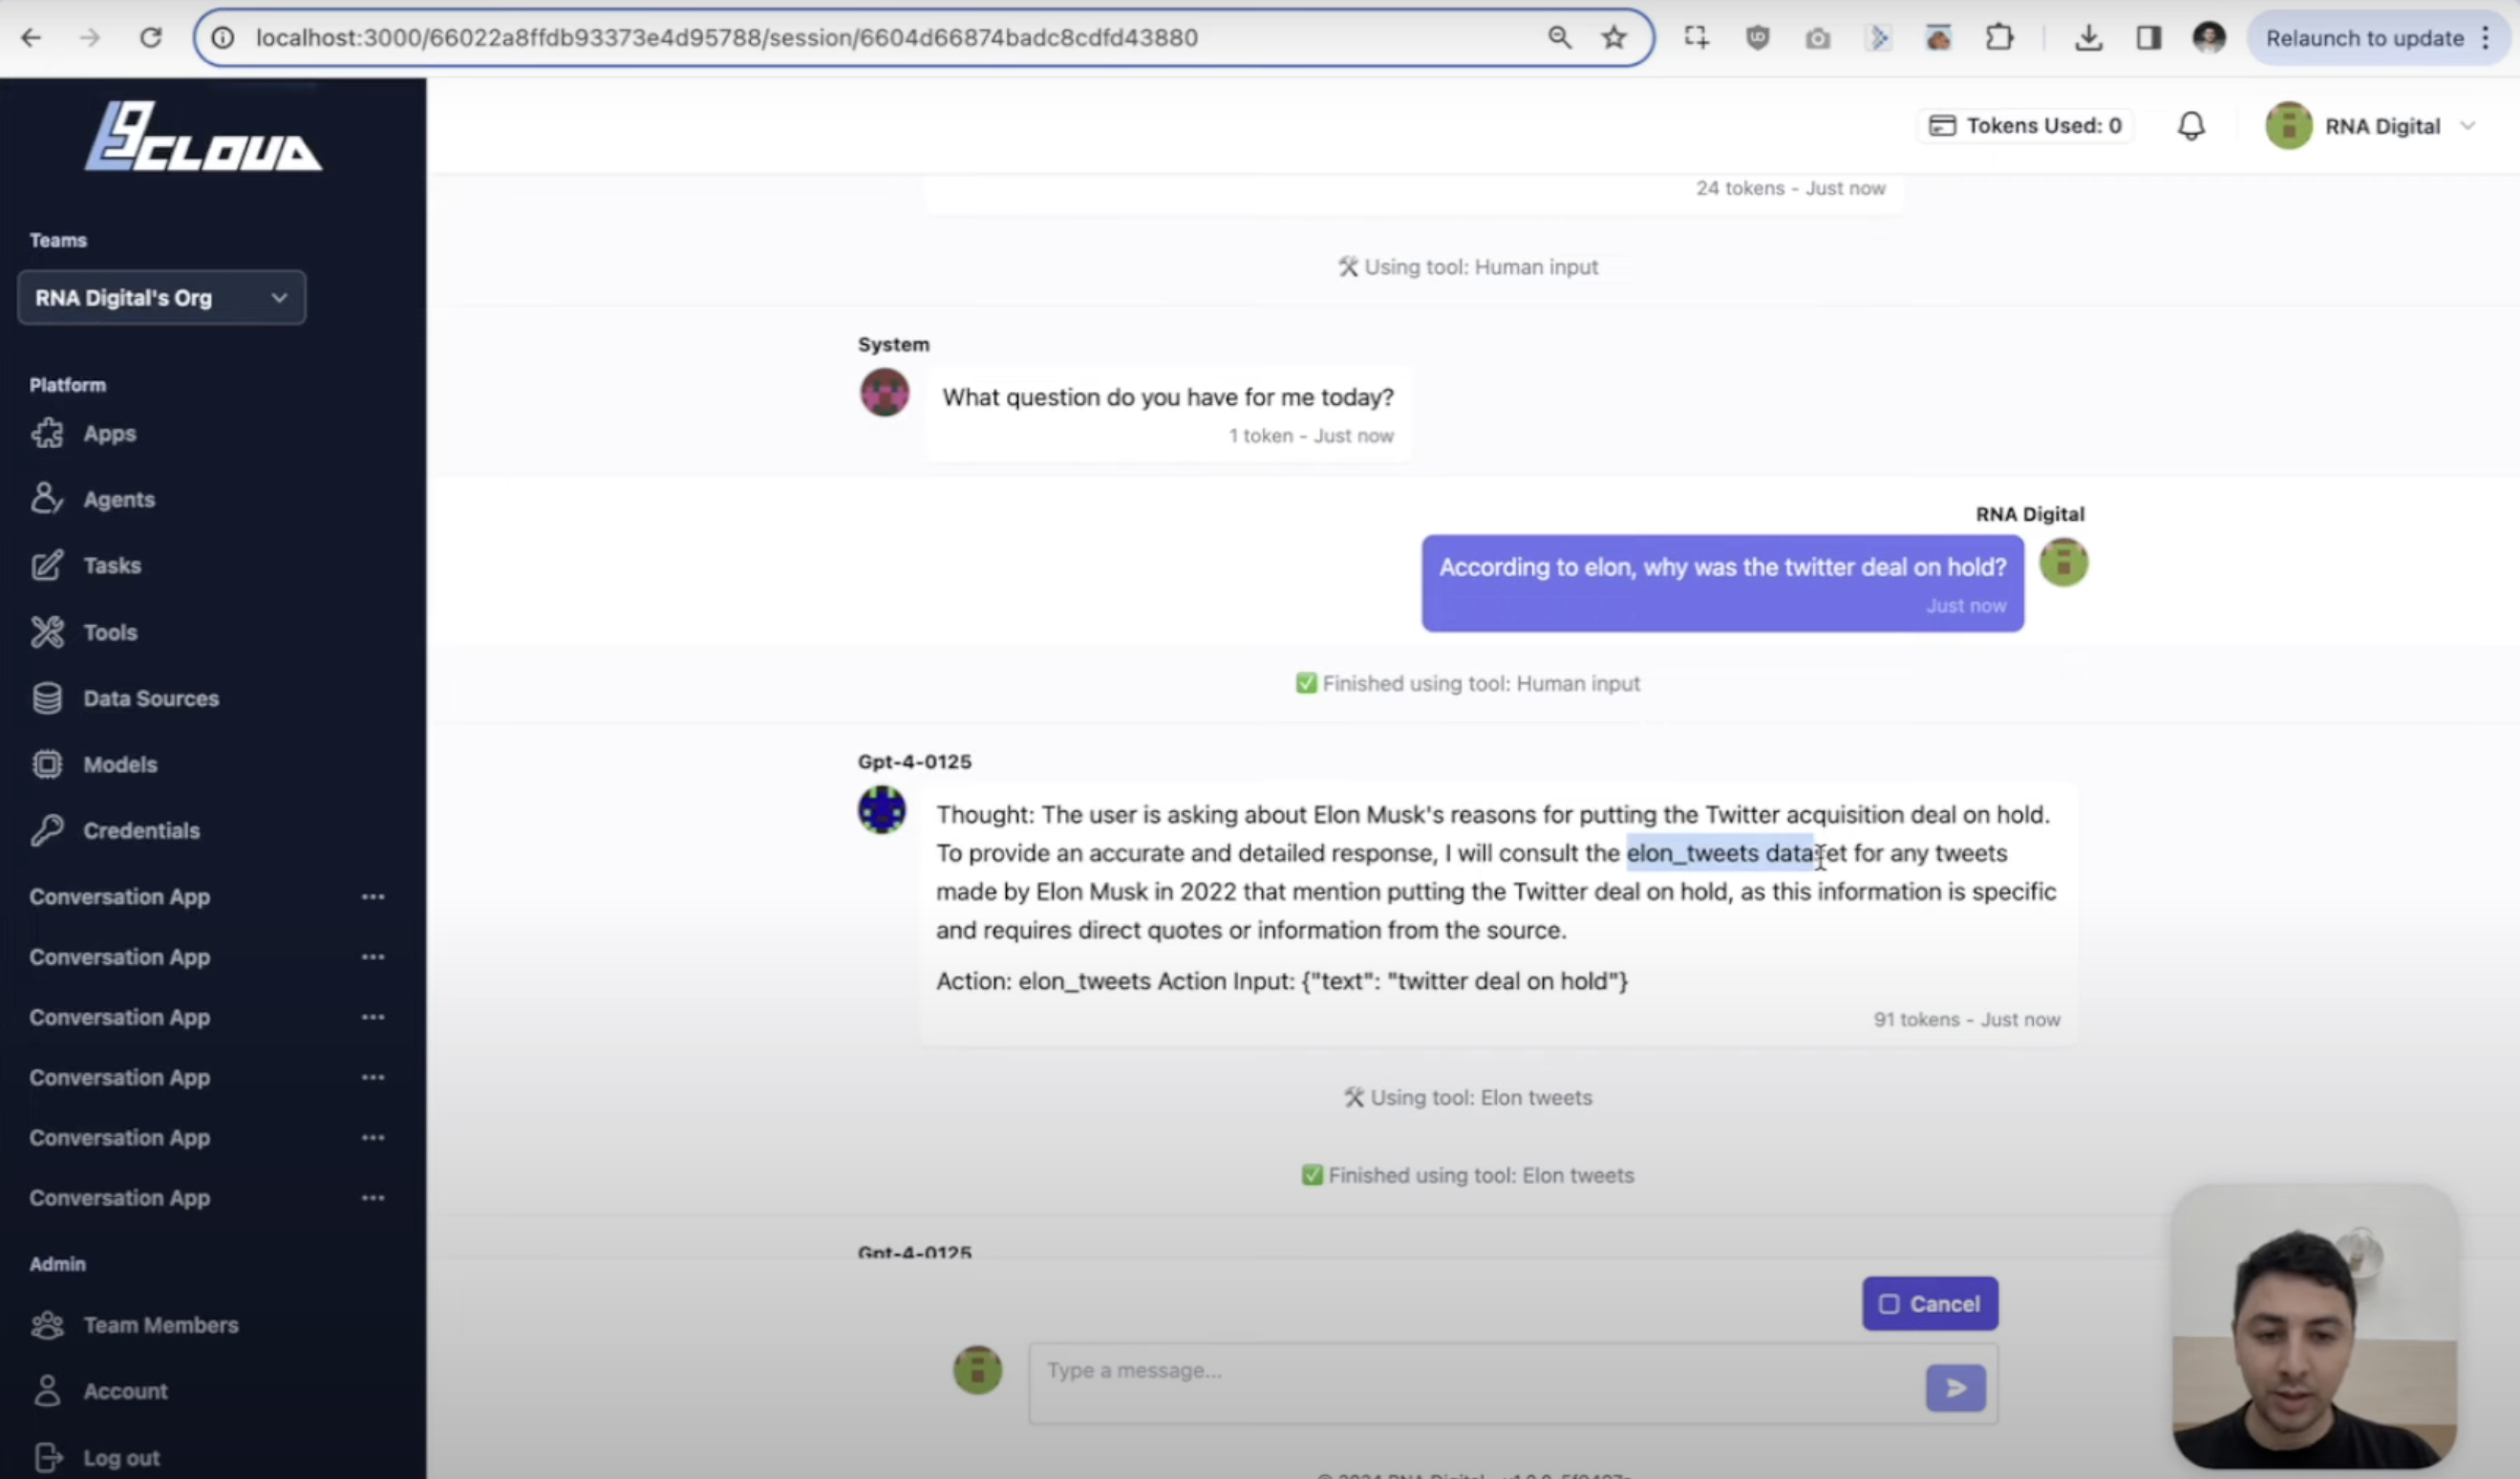
If you want to make sure the agent always uses the tool, you can update the agent prompt and tell it, ALWAYS use the .... tool.
Otherwise if you want to build an agent with a bit more autonomy to decide on multiple tools, you can keep the config light and let it infer which tool is required.
For example in the video we prompted the tool by writing *According to Elon...* which helped guide the LLM to the correct tool.