> ## Documentation Index
> Fetch the complete documentation index at: https://docs.agentcloud.dev/llms.txt
> Use this file to discover all available pages before exploring further.
# Get Started with Agent Cloud on a Local Deployment
Agent Cloud is a flexible platform that lets you decide how you want to build your projects and this is the simplest way to get Agent Cloud up and running. It only takes a few minutes.
## Setup via Docker
Learn how to get Agent Cloud running locally via Docker.
Open your terminal and clone the repo to your a local folder using the command below.
Make sure to `cd` into that directory.
`git clone https://github.com/rnadigital/agentcloud.git`
If you don't have docker desktop you can
[download it here](https://www.docker.com/products/docker-desktop/)
There previously was a reliance on GCP for bucket storage.
This has been removed and is now optional.
Files can now be accessed from Local Disk.
Follow the steps below to get started:
Once you are in the directory of the repo for Mac & Linux users run:
```
chmod +x install.sh && ./install.sh
```
The script will prompt for some details, or you can pass them as command line arguments:
```
~$ ./install.sh --help
Usage: ./install.sh [options]
Options:
--project-id ID Specify the GCP project ID.
--service-account-json PATH Specify the file path of your GCP service account json.
--gcs-bucket-name NAME Specify the GCS bucket name to use.
--gcs-bucket-location LOCATION Specify the GCS bucket location.
-h, --help Display this help message.
```
Here is a sample you can use to fill in the blanks
```
./install.sh --project-id [INSERT PROJECT ID HERE] --service-account-json [GENERATE A SERVICE ACCOUNT IN GCP AND INSERT LOCAL PATH TO KEYFILE JSON PATH] --gcs-bucket-name [INSERT A GCP BUCKET NAME] --gcs-bucket-location [INSERT A GCP LOCATION E.G. US-CENTRAL1] --openai-api-key [INSERT KEY SK-.......]
```
Once all the Docker containers are running, enter your browser and go to [http://localhost:3000](http://localhost:3000).
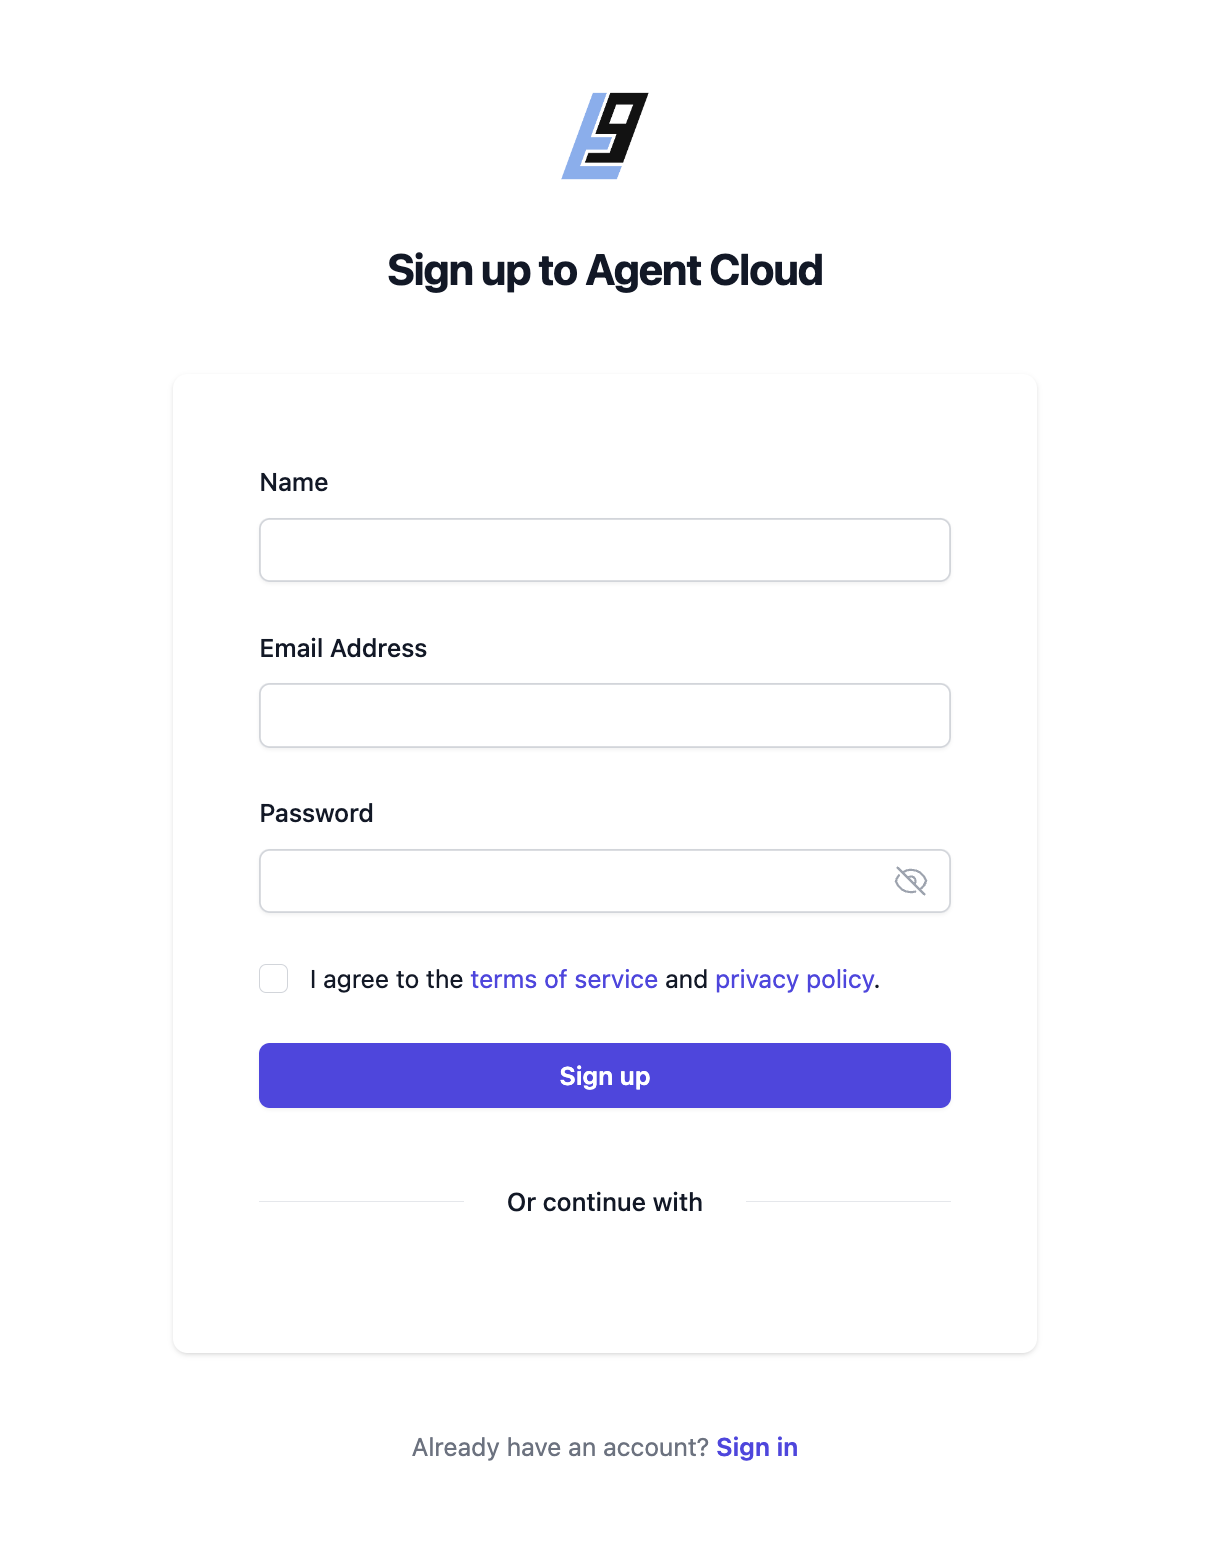
You will see the following page where you can enter your sign in details.
 After signup you will be redirected to a sign in page where you can enter the same credentials you just used to sign up to enter the platform.
For a detailed walkthrough of building a chat application using Agent Cloud and BigQuery, check out our [comprehensive guide](https://www.agentcloud.dev/blog/a-rag-chat-app-with-agent-cloud-and-bigquery) on the Agent Cloud blog. It will provide you with step-by-step instructions on "How to Build a RAG Chat App with Agent Cloud".
After signup you will be redirected to a sign in page where you can enter the same credentials you just used to sign up to enter the platform.
For a detailed walkthrough of building a chat application using Agent Cloud and BigQuery, check out our [comprehensive guide](https://www.agentcloud.dev/blog/a-rag-chat-app-with-agent-cloud-and-bigquery) on the Agent Cloud blog. It will provide you with step-by-step instructions on "How to Build a RAG Chat App with Agent Cloud".